Outline:
- Introduction
- Scoping
- Setup on Azure & Databricks(Optional)
- Data
- Modeling
- Deployment
- Monitoring
- Cost Analysis
Project Setup on Azure & Databricks Guide
This guide provides step-by-step instructions on setting up your Azure environment to host and manage a Databricks workspace, including creating an Azure account, resource group, and Databricks workspace. Additionally, it covers the creation of an Azure Data Lake Storage Gen2 account, setting up a pipeline using Azure Data Factory, and configuring the Databricks CLI.
Step 1: Azure Account Creation
Register for an Azure account by visiting the sign-up page, providing your details, verifying your identity, agreeing to terms, and waiting for account setup.
Step 2: Resource Group Creation inside Azure Account
After logging into the Azure Portal, navigate to “Resource Groups” from the navigation pane or search bar. Create a new resource group by clicking “Add” or “Create resource group,” specify its details such as name, subscription, and region, then review your settings and confirm by clicking “Create.” This container will organize related resources for your Azure solutions.
Step 3: Creation of Storage Account (ADLS Gen2) inside the Resource Group
Begin by selecting “Create a resource” in the Azure Portal, then search for and create a “Storage account”. In the “Basics” tab, provide details such as subscription, resource group, and region. Enable “Hierarchical namespace” under the “Advanced” tab to select the account type suitable for ADLS Gen2. Review your configurations and click “Create”. Once created, access your storage account in the Azure Portal to manage and configure settings.
Step 4: Databricks Workspace Creation inside Resource Group
To create a Databricks workspace, start by opening the Azure Marketplace from your dashboard and selecting “Create a resource.” Search for “Databricks” and choose “Azure Databricks.” Click “Create,” then input the required details such as name, subscription, resource group, location, and pricing tier. Review your input, then click “Create.” Once created, access your Databricks workspace by navigating to “All resources,” locating your workspace, and opening it.

4.1. Setting Up Azure Blob Storage, Configuring Access, and Creating Metastore
- Create Storage Infrastructure: Begin by creating a new ADLS Gen2 storage account in the Azure portal, enabling the hierarchical namespace as required. Within this storage account, create a container to hold the metadata and managed data for the Unity Catalog Metastore.
- Set Up Access and Permissions: Establish an “Access Connector for Azure Databricks” in the Azure portal to serve as a managed identity for Databricks to access the storage container. Assign the ‘Storage Blob Data Contributor’ role to this connector using the IAM policy to ensure appropriate access levels.
- Configure Azure Databricks Workspace and Metastore: Create an Azure Databricks workspace, selecting a premium tier for access controls, and log in. Navigate to create a Metastore by specifying the name, region, and path of the ADLS Gen2 container. Input the access container ID and link the Metastore to the necessary Databricks workspace by assigning and enabling it through the workspace settings.

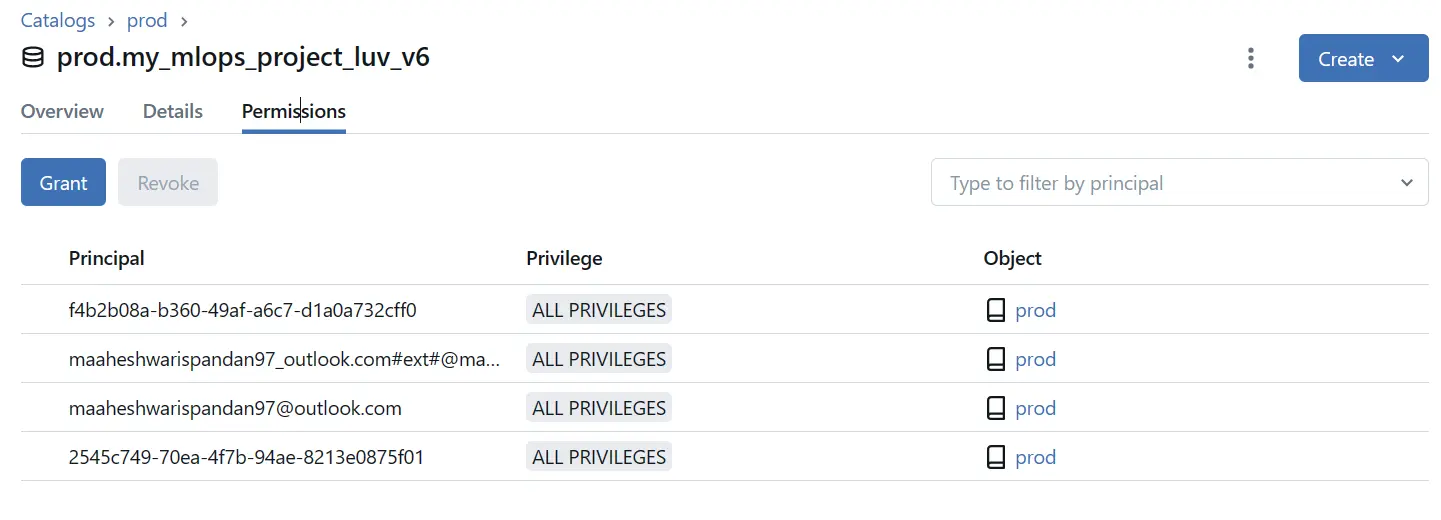
Step 4.2: Creation of Catalogs and Schema and Assigning Permissions
- Navigate and Set Up Catalog: Click on the Catalog icon to access the Catalog section. Select the desired catalog from the pane on the left. Then, click ‘Create schema’ in the detail pane to initiate the setup. Enter the schema’s name and, optionally, add a comment to describe its purpose. If necessary, specify a managed storage location, ensuring you have the required ‘CREATE MANAGED STORAGE’ privilege on the designated external location.
- Assign Permissions to Schema: Establish appropriate permissions for the newly created schema by referencing Unity Catalog privileges and securable objects guidelines, ensuring secure and proper access management. All necessary permissions have been established, allowing user to customize settings according to their organization’s specific requirements.
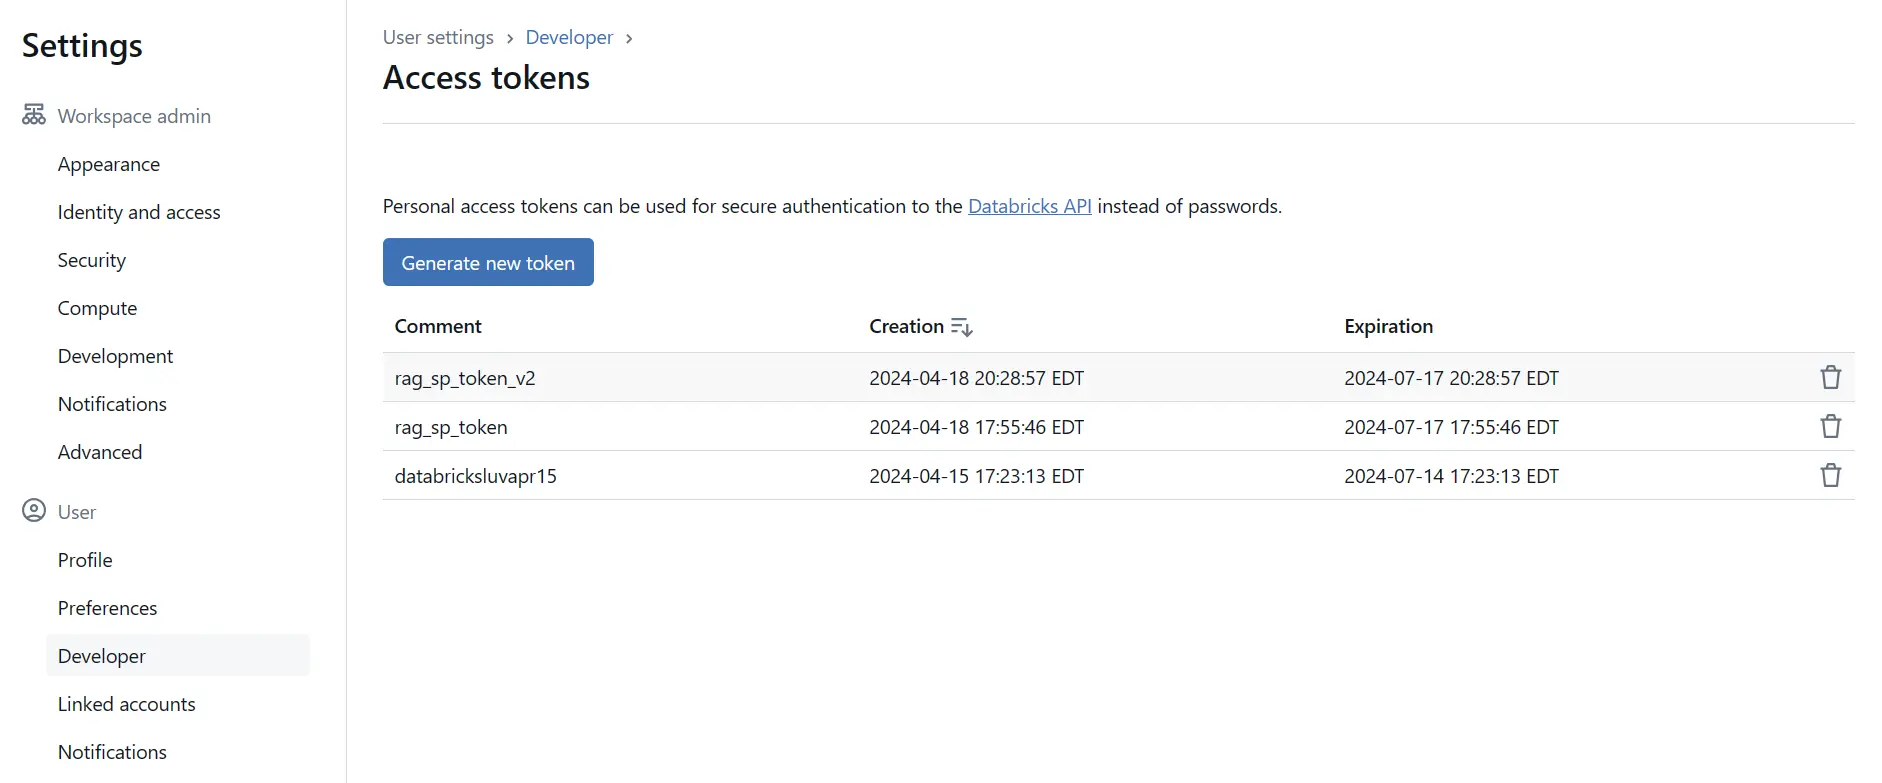
Step 4.3: Creating Access Tokens in Databricks
In the Databricks workspace, navigate to ‘User Settings’ via the sidebar, proceed to the ‘Access Tokens’ tab, generate a new token by entering a description and setting the expiration time, then securely save the token as it will not be displayed again.
Step 4.4: Installing libraries on Cluster
We are manually installing all the required libraries while creating the cluster. Since, we can’t create a conda environment. As it is not supported on Azure[https://learn.microsoft.com/en-us/azure/databricks/archive/legacy/conda].
Project Setup on Github Guide
We need to setup the following secrets and access tokens in our github repo on which this code sits. These will help the github workflows to interact with Azure & databricks account to setup the CI-CD pipeline
DATABRICKS_TOKEN:- A personal access token for authenticating with Databricks services.
- How to Obtain: Generated within the Databricks workspace under user settings.
EMAIL_PASSWORD:- The password for an email account used by the system to send notifications or alerts.
- How to Obtain: Set up through the email provider’s account settings.
EMAIL_USERNAME:- The username for the aforementioned email account.
- How to Obtain: Typically the full email address, set up with the email service provider.
PROD_AZURE_SP_APPLICATION_ID:- The application (client) ID for the Azure Service Principal in the production environment.
- How to Obtain: Created in Azure Active Directory → App registrations.
PROD_AZURE_SP_CLIENT_SECRET:- A secret key associated with the Azure Service Principal for production.
- How to Obtain: Created in Azure Active Directory → App registrations → Certificates & secrets.
PROD_AZURE_SP_TENANT_ID:- The tenant ID for the Azure Active Directory where the Service Principal is registered for production.
- How to Obtain: Found in Azure Active Directory → Properties.
STAGING_AZURE_SP_APPLICATION_ID:- Similar to
PROD_AZURE_SP_APPLICATION_IDbut for the staging environment. - How to Obtain: Follow the same steps as the production keys but within the staging environment.
- Similar to
STAGING_AZURE_SP_CLIENT_SECRET:- Corresponds to
PROD_AZURE_SP_CLIENT_SECRETfor the staging environment. - How to Obtain: Generated similarly to the production environment’s client secret.
- Corresponds to
STAGING_AZURE_SP_TENANT_ID:- Tenant ID equivalent to
PROD_AZURE_SP_TENANT_IDfor the staging environment. - How to Obtain: Acquired from the Azure portal under the Azure Active Directory section for staging.
- Tenant ID equivalent to
WORKFLOW_TOKEN:- A fine-grained personal access token used within GitHub to authenticate and trigger workflow actions.
- How to Obtain: Go to GitHub settings, navigate to Developer settings → Personal access tokens → Fine-grained tokens. Create a new token with the appropriate scopes required for your workflows.

Project setup on local system Guide
Step 1: Installing Databricks CLI
For Windows using WSL: Installing Databricks CLI on VSCode
- Check if
curlis installed: Run the following command in your WSL terminal:curl -V - Install
curlif necessary: Ifcurlis not installed, use the package manager for your Linux distribution to install it. - Download and install the Databricks CLI: Execute the following command in your WSL terminal:
curl -fsSL https://raw.githubusercontent.com/databricks/setup-cli/main/install.sh | sudo shThis command downloads the installation script from the Databricks CLI repository on GitHub and executes it with root privileges using
sudo. - Verify installation: After the installation is complete, verify that the Databricks CLI is installed correctly by running:
For Macos: Installing Databricks CLI on vscode
Follow the steps on the Databricks CLI installation guide.
brew tap databricks/tap
brew install databricks
brew -v
# Or:
databricks version
If the installation was successful, you should see the version number of the Databricks CLI printed in the terminal.
Step 2: Configure azure-cli login
Use the command az login on the terminal of the current directory.
az login