Outline:
1. Modularizing Feature Engineering Scripts in Airflow
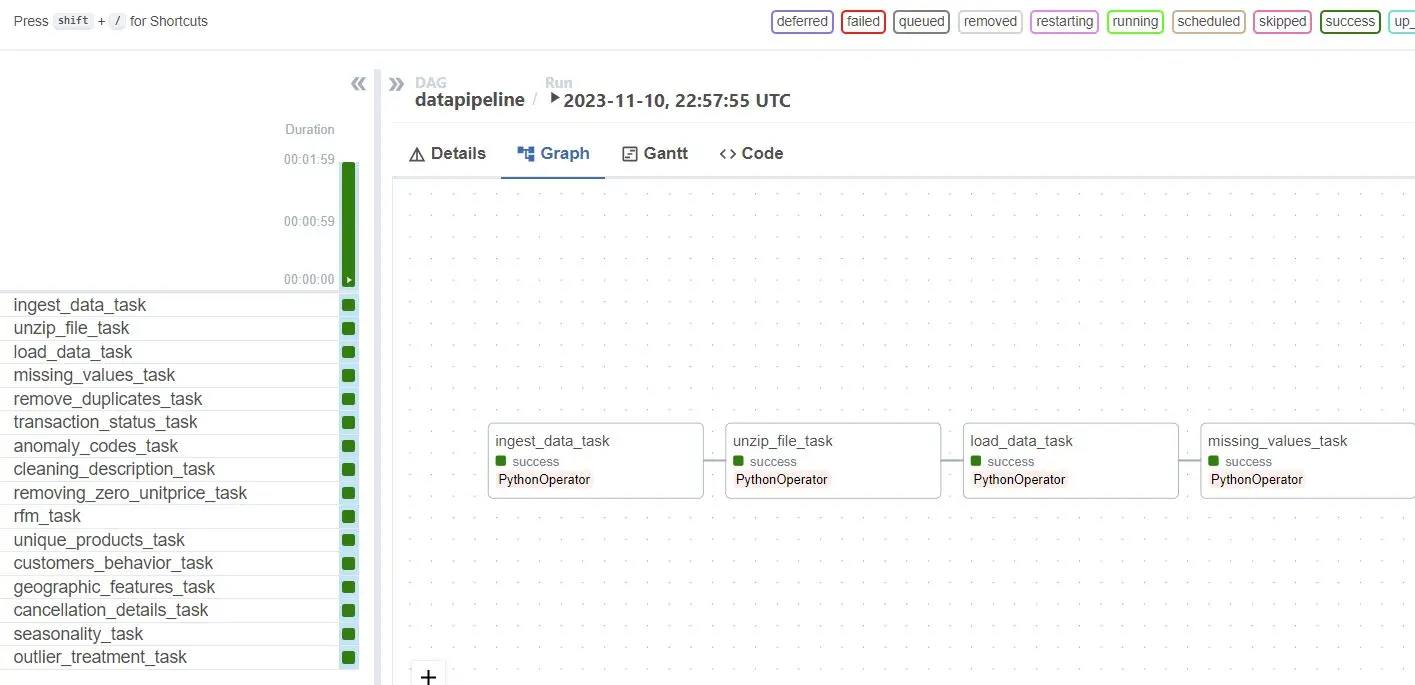
We broke down our pipeline logic into individual tasks using Airflow operators such a Python operator. Operators represent units of work within a complete workflow, and Python Operator allowed us to run modularized python scripts. Link to our main Airflow DAG script
We organized our workflow logic by defining DAGs. A DAG is a collection of tasks with defined dependencies. As each DAG is a smaller, logically organized unit,the individual script becomes independent of unnescessary variables; thus reducing the memory requirements and, in turn, latency. Additionally at the time of version update, this allows to modify a single module rather than the whole script. A peculiar advantage was to use the jinja templates to directly call the output of another operator as the input for current operator. This helps overcome the need to store outputs of each script individually. Furthermore, DAGs for task parallelization and reducing the overall task completion times due to long task chains in serialization. Link to our dag component scripts
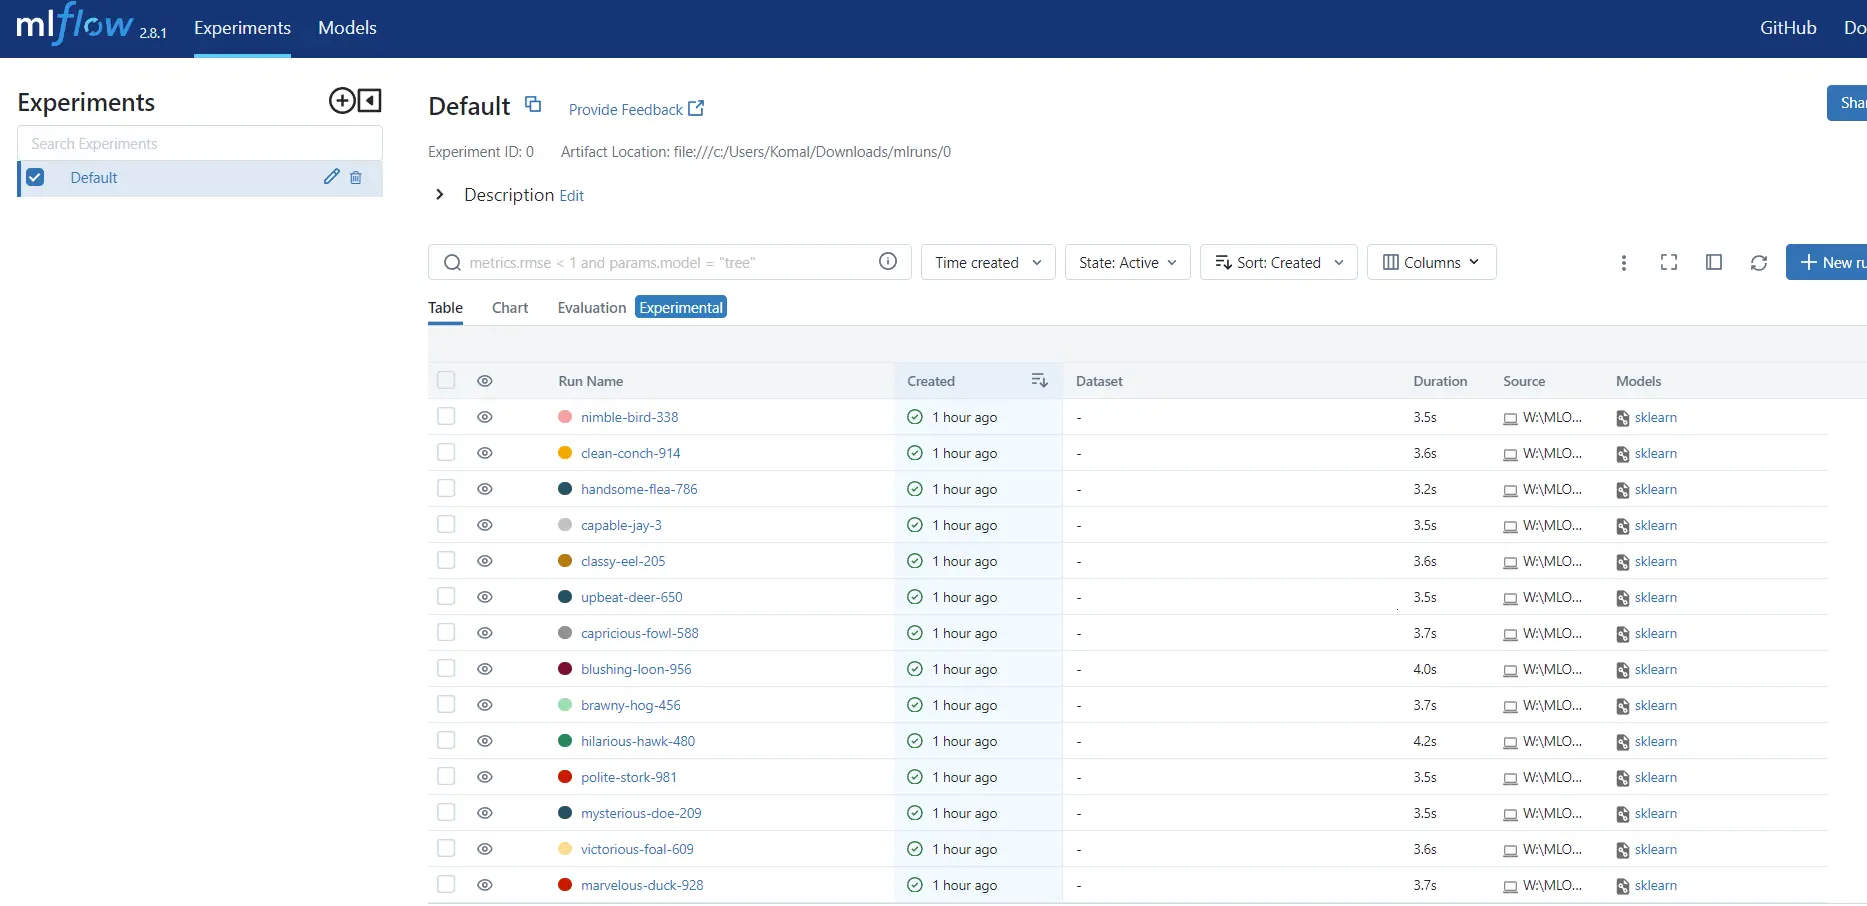
Image: DAGs run preview
1.1 Setup for Docker
- Install the Docker desktop app.
- Create account on Docker for ease of uploading modified images as per your application.
- Log in to Docker through commandline
docker login --username [username]Also, fill in your password in the prompt.
- Rename image manually or use:
docker tag my-image username/my-repo - To upload images:
docker push username/my-repo
1.2 Initial Setup for AirFlow:
- Start the docker desktop app. You may want to run it “As Administrator” optionally for it to have root access.
- You may use wsl to run linux commands on windows by following this wsl Official Link guide for installation and usage.
- You can check if you have enough memory by running this command on command line:
docker run --rm "debian:bullseye-slim" bash -c 'numfmt --to iec $(echo $(($(getconf _PHYS_PAGES) * $(getconf PAGE_SIZE))))' - Fetch docker-compose.yaml on Linux
curl -LfO 'https://airflow.apache.org/docs/apache-airflow/2.5.1/docker-compose.yaml' - Setting the right Airflow user
mkdir -p ./dags ./logs ./plugins ./working_data echo -e "AIRFLOW_UID=$(id -u)" > .env - Create a docker-compose.yaml file in the project root directory. This file defines the services and configurations for running Airflow in a Docker container. Update the following in docker-compose.yml
# Donot load examples AIRFLOW__CORE__LOAD_EXAMPLES: 'false' # Additional python package _PIP_ADDITIONAL_REQUIREMENTS: ${_PIP_ADDITIONAL_REQUIREMENTS:- pandas } # Output dir - ${AIRFLOW_PROJ_DIR:-.}/working_data:/opt/airflow/working_data # Change default admin credentials _AIRFLOW_WWW_USER_USERNAME: ${_AIRFLOW_WWW_USER_USERNAME:-airflow2} _AIRFLOW_WWW_USER_PASSWORD: ${_AIRFLOW_WWW_USER_PASSWORD:-airflow2} - In case of non-Linux os, you should manually create an .env file in the same folder as docker-compose.yaml to get rid of unnecessary warnings. It should contain:
AIRFLOW_UID=50000 - Initialize the database.
docker compose up airflow-init
Important Note:
While we have defined “pip additional requirements” in the docker file, please avoid doing this for deployment as it ends up increasing the “compose up” time for Airflow.
- Instead, always modify your base-image by using interactive command:
docker run -it [image-name] /bin/bash - The commands will be run on linux terminal. You may require root access. Update the container image by downloading the additional requirements.
- Upload the modified image to your docker repository.
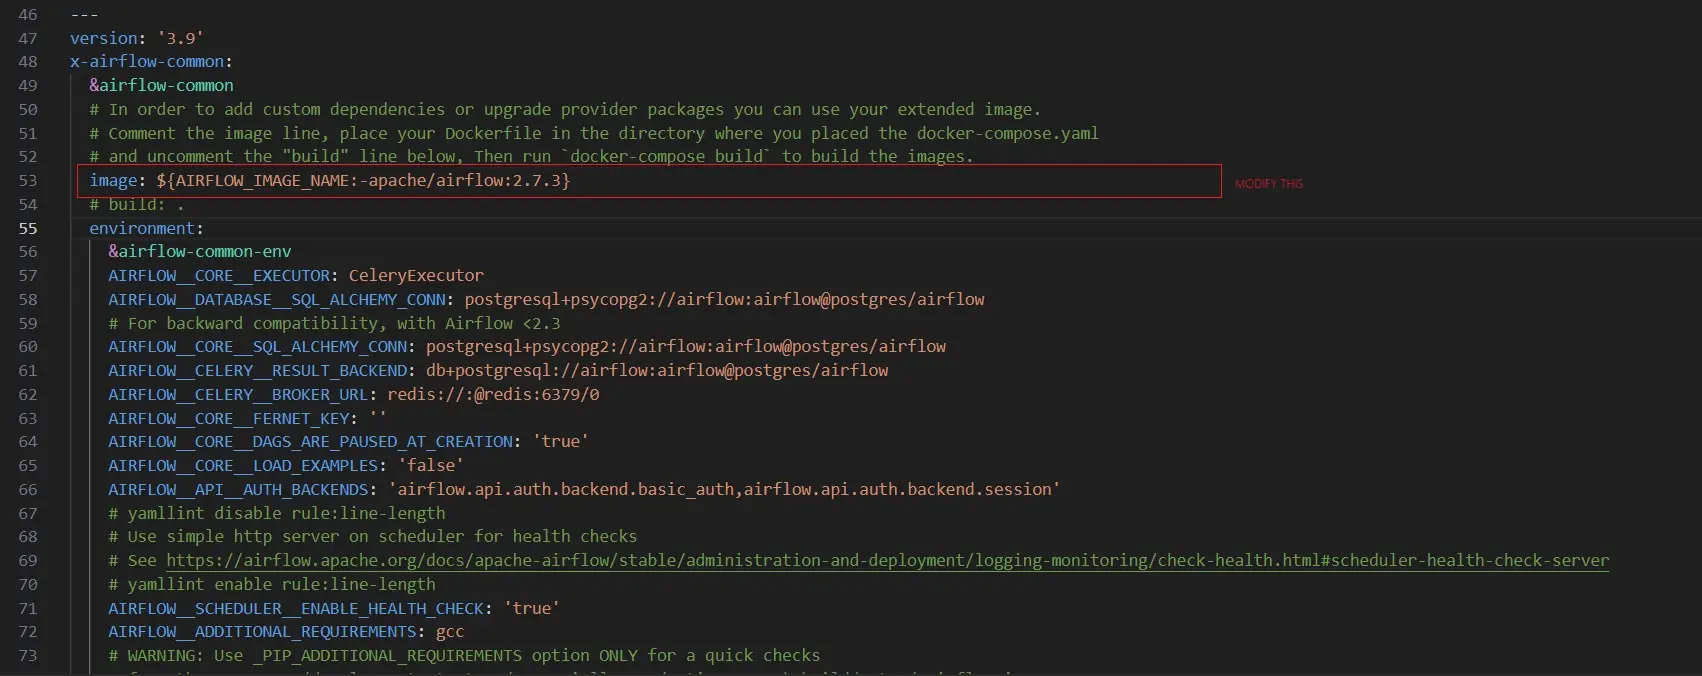
- Finally, update your docker yaml file to call the modified image as seen below:
1.3 General Runs of Airflow insider Docker Containers
- Run the Docker Desktop app.
- At commandline, run the command:
docker compose upWait until terminal outputs
app-airflow-webserver-1 | 127.0.0.1 - - [17/Feb/2023:09:34:29 +0000] "GET /health HTTP/1.1" 200 141 "-" "curl/7.74.0" - Visit localhost:8080 on your browser. Login with credentials set on step 1.2.6
- Explore UI and add user Security > List Users
- Create a python script under dags directory. You can have n number of scripts inside dags directory.
- To stop docker containers, use
docker compose down
1.3 Operating through UI inside Airflow
- In the Airflow web interface, navigate to the “DAGs” page. You should see the “your_python_dag” listed.
- You may change your timezone trhough a drop-down list on RHS top corner.
- To manually trigger the DAG, click on the “Trigger DAG” button or enable the DAG by toggling the switch to the “On” position.
- Monitor the progress of the DAG in the Airflow web interface. You can view logs, task status, and task execution details.
- Once the DAG completes its execution, check any output or artifacts produced by your functions and tasks.
2. Using MLFlow to visualize the most optmized model
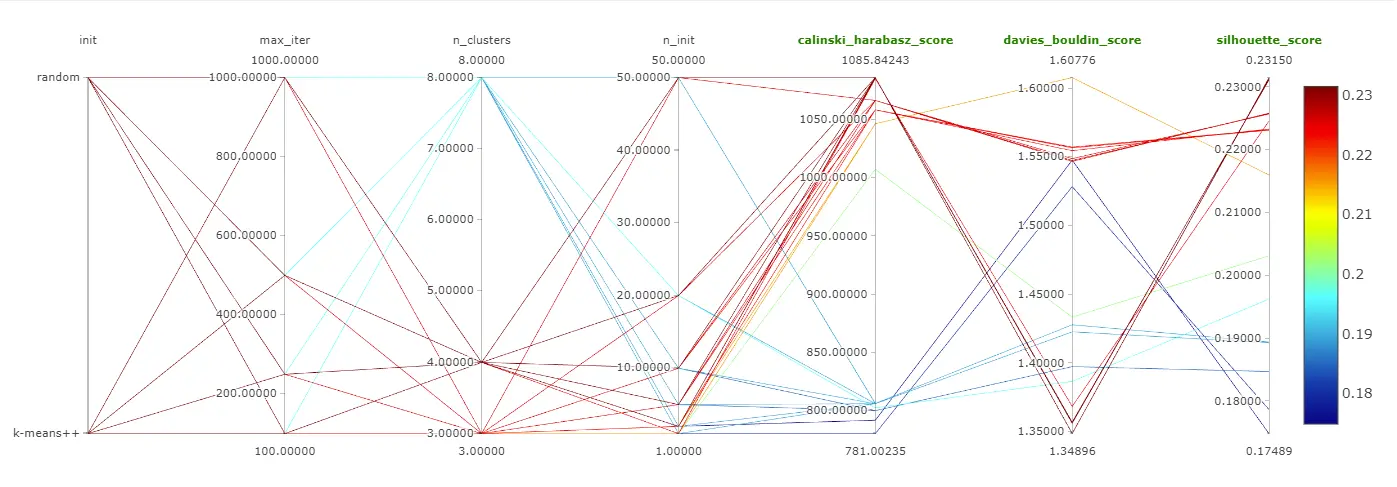
MLFlow may be used to efficiently compare and log the models during hyperparameter tuning. For our case, the output indices such as Silhouette score, Davies-Bouldin Index and Calinski-Harabasz Index were analyzed while changing values for number of clusters, initialization types, number of initializations and max iterations. Other parameters may be tweaked as per your model requirements.
Image: Parallel Plot for KMeans for our project
2.1 Setup for MLFlow:
- Set your tracking uri for MLFlow. To open MLFlow in a browser, run the following command on Commandline.
mlflow.set_tracking_uri("http://127.0.0.1:5001") - Setting the base level for logging; only warnings and above (error,critical) shall be logged.
logging.basicConfig(level=logging.WARN) - Set up the logger.
logger = logging.getLogger(__name__) - Additionally, you may or may not choose to ignore warnings.
warnings.filterwarnings("ignore") - Goto a new tab in your browser and open set uri “http://127.0.0.1:5001”.
Image: MLFlow Dashboard for our project